by hupka | Sep 5, 2019 | Cherry, LIve Edge, Slab
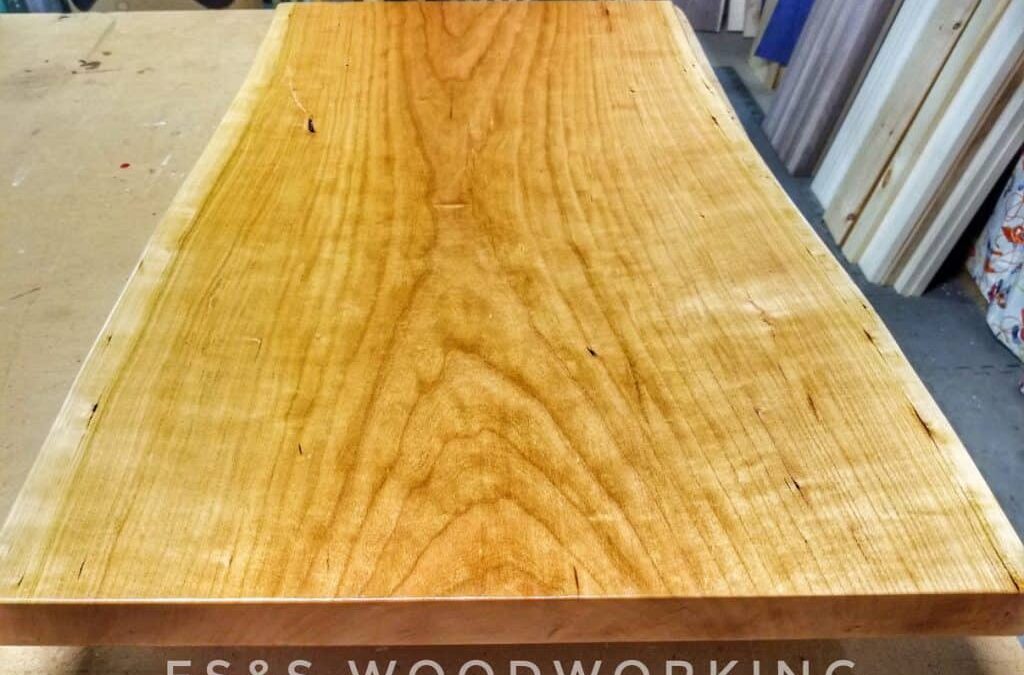
The final coat of tung oil was applied to the cherry slab we’ve been working on. Between each of the four coats I sanded with a high grit paper. Usually 320 grit but the last was with 600. After everything cured the piece was given one last sanding with 1000...
by hupka | Sep 3, 2019 | Cherry, LIve Edge, Slab
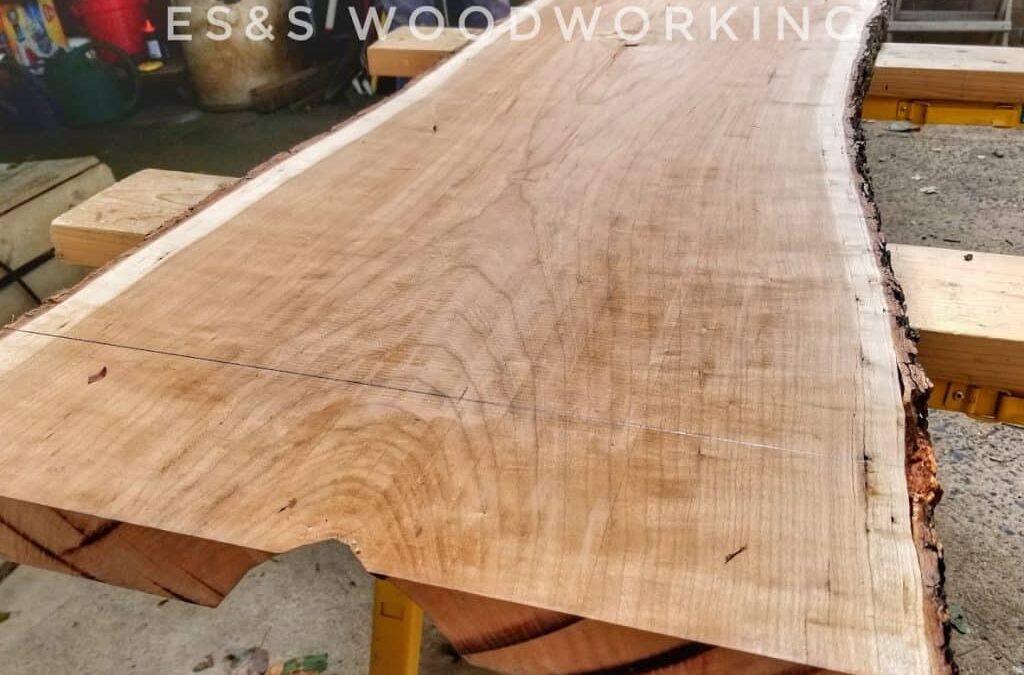
This beautiful piece of live edge cherry is a piece of artwork all on its own. What are we doing with it on this fine day? Well you’ll have to just wait a few days to see the final result. In the meantime we will be debarking, sanding, sanding, more sanding and...

by hupka | May 9, 2019 | Bloodwood, Cherry, Slab
A little throw back Thursday action for me today. This is the first butterfly key I ever attempted. You might think I was smart and did a few test keys before cutting into my cherry slab. You might think that, but you’d be wrong. I just randomly cut a key on the...
by hupka | Nov 21, 2018 | Cherry, Draw Knife, Slab, Table
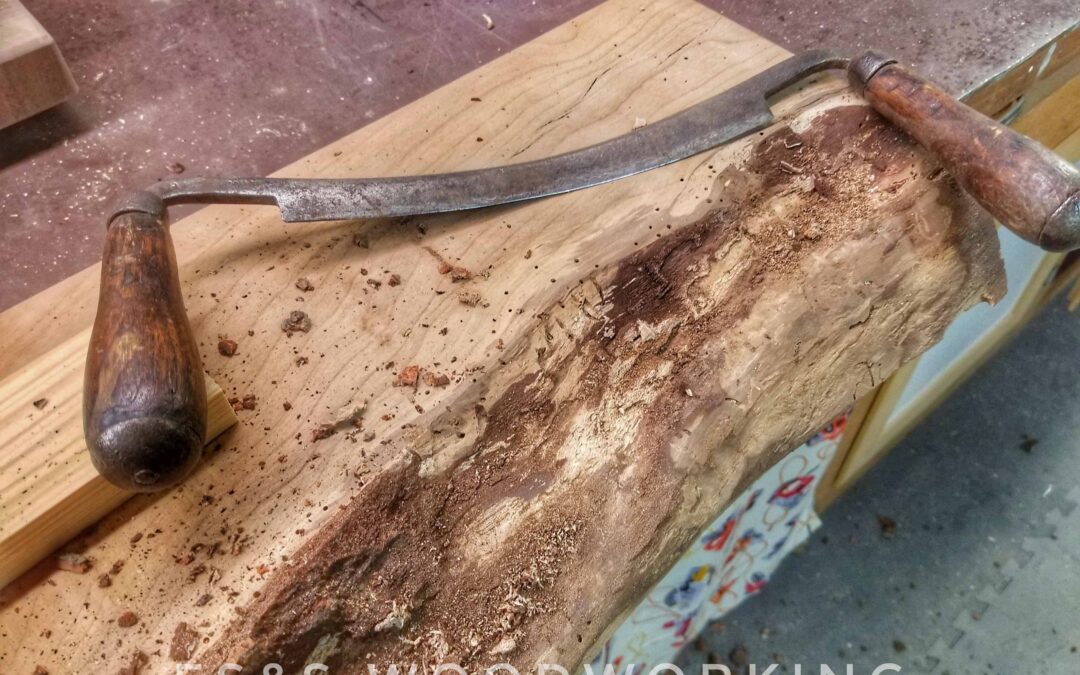
First step to getting our cherry slab into final form is to get it sized properly and then free from the bark. For this project we want to get the bark removed and get down to the bare wood underneath. To carve this out we are going to use one of our new (to us) draw...
by hupka | Nov 15, 2018 | Cherry, Country, Furniture, Slab, Table
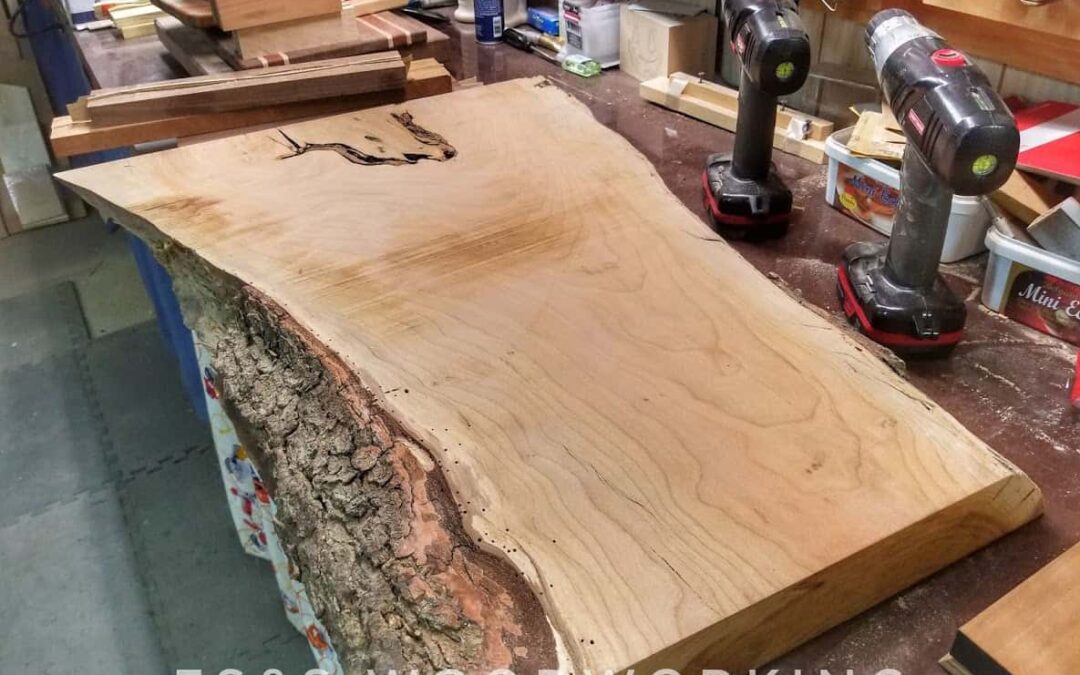
Measuring in at three inches thick and thirty inches long this live edge cherry is going to make a beautiful piece of furniture. We love working with live edge wood. It offers us the chance to use some old tools as they were meant to be used. We posted recently about...
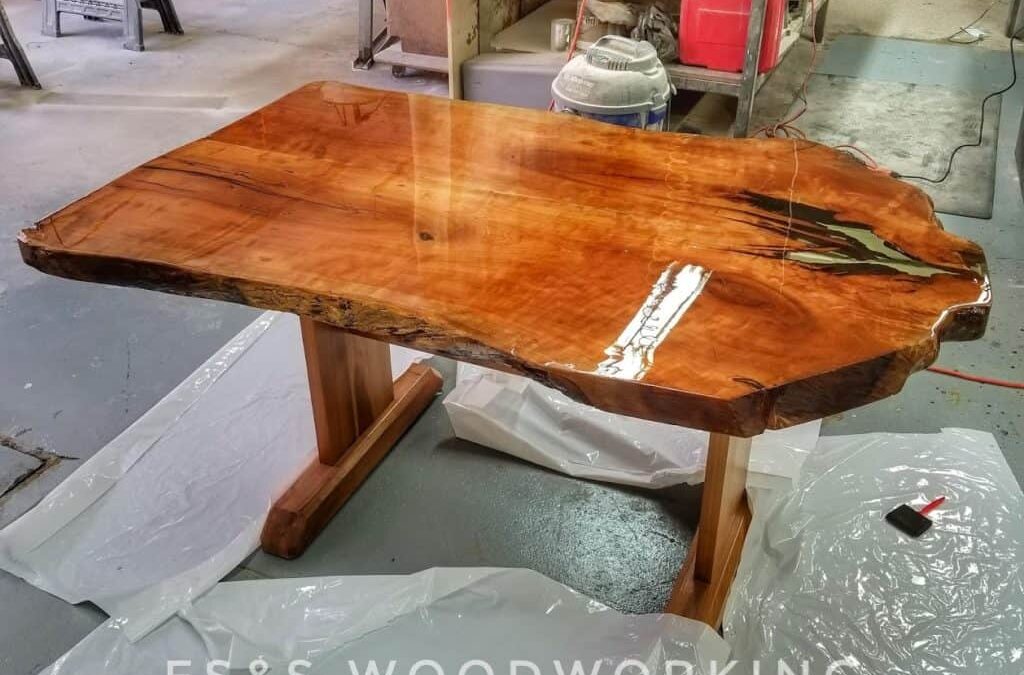
by hupka | Aug 12, 2018 | Cherry, Furniture, Slab, Table
We’ve been working with our friends at DRB Woodworking to finish this cherry slab table. We recently completed the epoxy pour on the top and it came out excellent. Epoxy resin is a tricky animal. If done right you should end up with a coating that looks as clear...