Sometimes, the only reason you need in order to take a project up to the next level is simply…because you can. We were asked to create a rolling podium for a first-grade teacher in our area. The requirements?
1. It needed to be very mobile.
2. It needed to use a restored metal cabinet as its base (painted green).
3. It needed a wooden top.
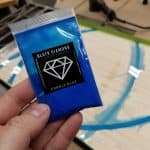
Outside of those three items we were left to our own creativity to design this project. Right from the start, I knew I wanted to do something fun with the top. The main reason is that this will be in a room full of first-grade students so something fun with some color was the way to go. But what should that entail? A crazy paint job or some sort of weird stain is the obvious choice but it didn’t have the flair I was shooting for. Then I saw our packs of Black Diamon epoxy pigment. The decision was easy. Let’s have some fun with an epoxy pour.
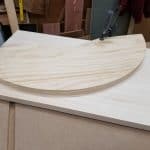
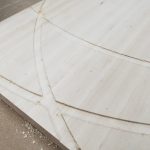
To start I grabbed a large glue-up of hard maple I had together to be used for a cutting board (18″ deep and 28″ wide). This would make an excellent podium top. I used some scrap pine with a large radius on it as the guide for my plunge router in order to cut the grooves into the maple. I outfitted the router with a 1/2″ straight bit and set the depth. Throughout this project, I would reset the depth several times so we would get different sized grooves. The deeper the groove the deeper the blue. The shallower grooves would be a lighter shade of blue as they let more of the white from the maple show through. I figured this was a simple way to add a little color variation.
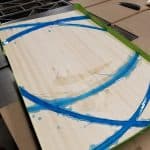
The top looks very messy right now but will sand out nicely with crisp lines between the blue epoxy and white maple. We’re going to let it sit for a few days to fully cure even though it’s probably ready to be worked right now (it’s been more than 8 hours since I poured the epoxy).
Now we need to think about the rest of the podium… hmm…
- I used a scrap piece of pine with an arch as my router guide
- Varying depths will give the blue different shades
- Completely random. I planned nothing
- The pigment powder. We used very little.
- Messy but it will sand out nicely
- It should look pretty great
